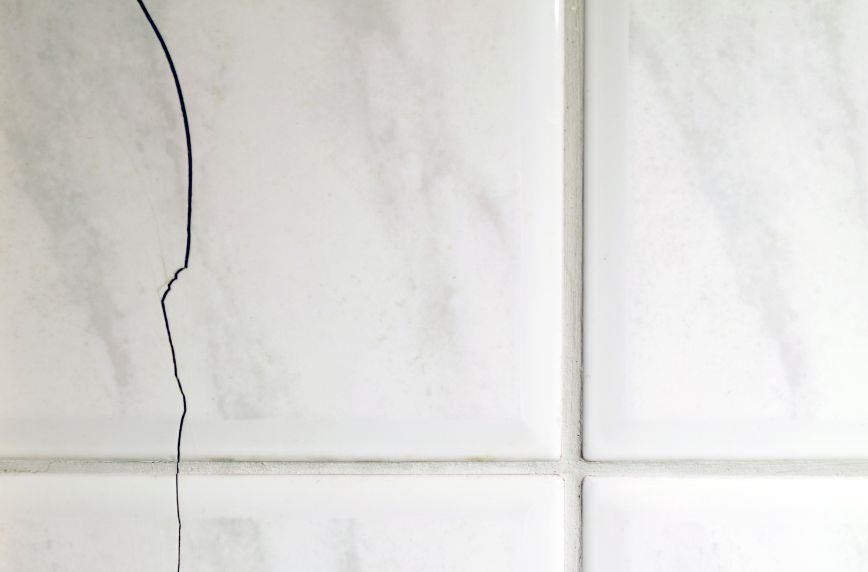
Tips for Fixing Broken Tiles Using Epoxy


Tiles are beautiful additions to any home, but they’re quite susceptible to damage. Whether from heavy objects falling, temperature changes, or simply the passage of time, tiles can crack or chip. Fortunately, you don’t have to replace the entire tile to restore its appearance. Here, we’ll share tips for fixing broken tiles using epoxy, a strong adhesive that can mend the cracks almost invisibly.
Understanding Epoxy and Its Benefits for Tile Repair
Epoxy is a two-part adhesive. It consists of a resin and a hardener that combine to form a durable bond capable of repairing cracks, chips, and breaks in many things, including tiles. Unlike regular adhesives, epoxy sets quickly and bonds strongly to most surfaces, making it an ideal solution for tile repair. It’s also waterproof, making it suitable for fixing tiles in areas exposed to moisture, like bathrooms and kitchens.
Preparing the Broken Tile for Repair
Before you begin the repair process, you have to prepare the broken tile for the best possible outcome. This means cleaning the area thoroughly to remove any dust, dirt, or debris that could interfere with the adhesive’s ability to bond. If the tile is severely cracked or has missing pieces, carefully remove any loose fragments and clean the cavity. For the epoxy to adhere properly, the tile must be dry. Taking the time to prep the damaged area ensures that the repair will last and prevent further damage.
Applying Epoxy To Fix the Tile
Applying epoxy to fix a broken tile requires precision and patience. After preparing the broken tile, mix the epoxy resin and hardener according to the manufacturer’s instructions. Apply the epoxy carefully to the damaged area using a toothpick or small brush, ensuring that you fill any gaps or cracks completely. For chips or missing pieces, you may need to apply the epoxy in layers, allowing each layer to set before adding more. Make sure you adhere to epoxy curing times, as messing with the area before the epoxy is cured can compromise the fix. Once the epoxy has cured, you can sand it down to make sure it’s flush with the surface of the tile. Finally, clean the area to remove residue.
Finishing Touches for a Seamless Repair
After repairing the tile with epoxy and ensuring it’s completely cured, consider the finishing touches that will make your repair seamless. If the repaired area is visible, you might need to paint over the epoxy with a color that matches the tile. Painting your tiles is also one of the great ways to spruce up old tiles, so it’s worth a go while you’re already working on them. Special tile paints are available.
Dealing with broken tiles doesn’t always mean having to replace them. With these tips for fixing broken tiles using epoxy, you can effectively mend the damage and preserve the look of your tiled surfaces. Whether it’s a floor, backsplash, or bathroom wall, restoring the beauty of your tiled areas can be a satisfying DIY project that maintains the elegance and value of your home.
