Step by Step Guide: How to Replace Broken Floor Tiles


Cracked floors can be a real eyesore and a safety hazard. If left unchecked, they can also lead to further damage and costly repairs. Fortunately, replacing broken tiles is a relatively simple and inexpensive fix that can transform your space and give your floors a fresh new look.
In this step-by-step guide, we'll show you how to replace broken tiles like a pro, with tips and tricks to make the process a breeze. Whether you're a DIY enthusiast or a homeowner looking to save some money on repairs, this guide will equip you with everything you need to know to get the job done right.
From choosing the right tools and materials to preparing the surface and laying the new tiles, we'll walk you through each step so that you can say goodbye to cracked floors once and for all. So let's get started and get ready to transform your space with this easy DIY project!

Understanding Tile Damage
Tiles are designed to be durable and long-lasting, but even the best tiles can become damaged over time. Understanding the different types of tile damage can help you identify issues early on and prevent further damage. The most common types of tile damage include cracks, chips, stains, and grout damage.
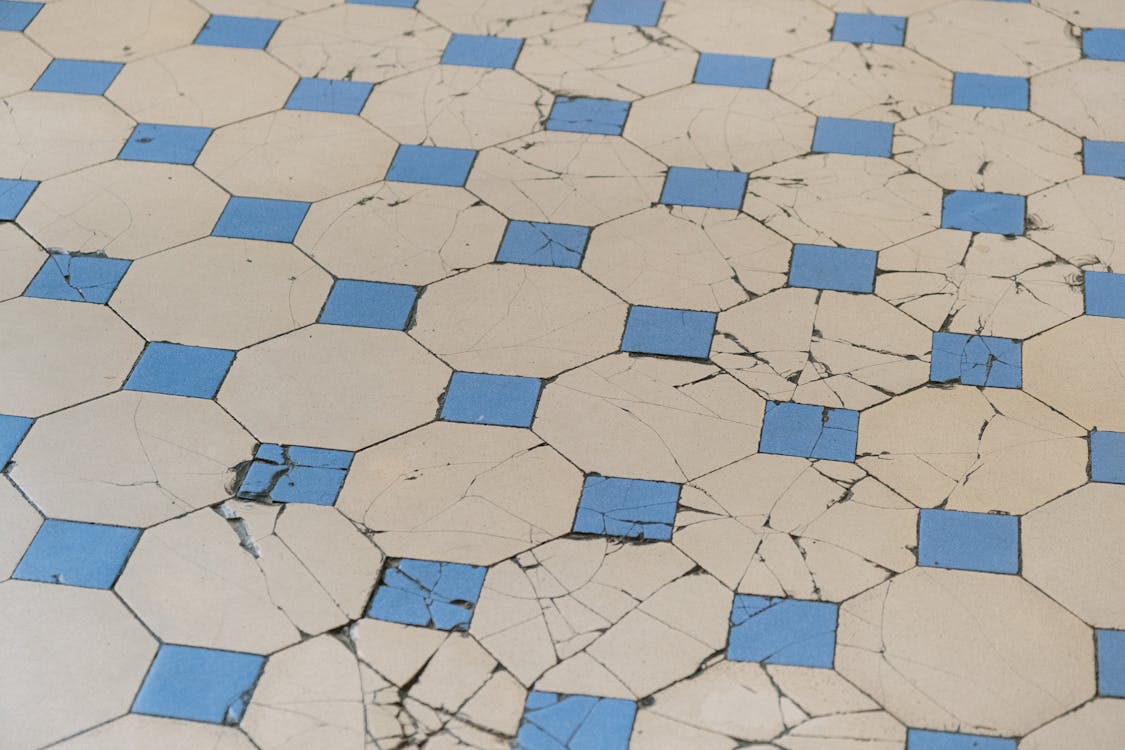
Cracks in tiles can be caused by a variety of factors, including heavy foot traffic, improper installation, or shifting of the subfloor. Chips can also occur due to heavy foot traffic or impact from dropped objects. Depending on the severity of the chip, it may be possible to repair or replace the damaged tile.
Stains are another common issue with tiles, particularly in areas with high moisture or foot traffic. Stains can be caused by spills, dirt, mold, or mildew growth. Finally, grout damage can occur due to wear and tear or improper installation.
Tools And Materials Needed For The Job
Before you get started, it’s crucial to make sure you have all the necessary tools and materials on hand to replace your broken floor tile. Here's what you'll need:
-
Safety goggles
-
Dust mask
-
Gloves
-
Hammer
-
Chisel
-
Pry bar
-
Tile adhesive
-
Grout
-
Tile spacers
-
Grout float
-
Tile cutter
-
Measuring tape
-
Level
Preparing The Area For Tile Removal
The first step in the process is to prepare the area for tile removal. This involves taking the necessary precautions to protect yourself and your surroundings. Put on your safety goggles, dust mask, and gloves to protect yourself from debris.
Remove any furniture or objects from the area to avoid damage and to give yourself enough space to work. Cover any nearby surfaces with a drop cloth or plastic sheeting to prevent dust and debris from spreading.
Removing Broken Tiles
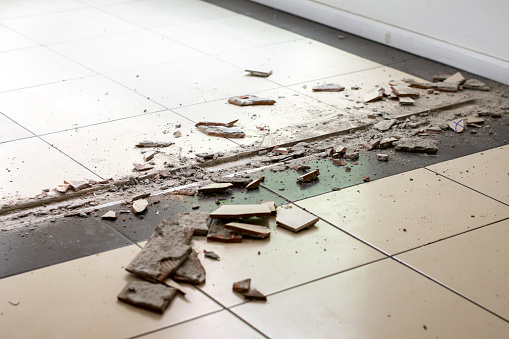
Now that the area is prepped and ready to go, it's time to remove the broken tiles. Start by using a hammer and chisel to break the tile into small pieces.
Be careful not to damage the surrounding tiles or the subfloor. Once the tile is broken up, use a pry bar to remove the pieces and any leftover adhesive. If the adhesive is difficult to remove, use a scraper or putty knife to scrape it away.

Cleaning Up Debris And Preparing For New Tiles
Once all the broken tiles and adhesive have been removed, use a vacuum or broom to clean up any debris or dust. It's important to have a clean and even surface before laying down the new tiles.
Inspect the subfloor to make sure it's level and free of any cracks or damage. If necessary, use a leveling compound to even out any low spots or imperfections. A notched trowel and cold chisel can be used to level out any bumps or uneven spots.
Measuring And Cutting New Tiles
When replacing a cracked kitchen floor tile, you'll need to measure and cut the new tiles to fit the size of your space.
Now it's time to measure and cut the new tiles. Measure the area where the new tiles will be laid and mark the measurements on the tile. Use a tile cutter to cut the tile to the right size and shape. Be sure to wear your safety goggles when cutting the tile to protect your eyes from flying debris.
Applying Adhesive And Setting New Tiles In Place
Once the new tiles are cut, it's time to apply the adhesive and set the tiles in place. Follow the manufacturer's instructions for mixing and applying the adhesive. Use a towel to spread the adhesive evenly over the subfloor.
Then, use tile spacers to ensure that the tiles are evenly spaced. Place the new tiles in the adhesive, using a level to make sure they are even and flush with the surrounding tiles. Allow the adhesive to dry according to the manufacturer's instructions.
Apply acrylic floor adhesive generously over the back of the tile, then press firmly into place. The Acrylpro Professional Tile Adhesive is one of the best products on the market and can be used for both ceramic and porcelain tiles.
Grouting And Sealing The New Tiles
Now that the tiles are in place, it's time to grout and seal them. Mix the grout according to the manufacturer's instructions and use a grout float to apply it evenly between the tiles. Remove any excess grout with a damp sponge and allow it to dry completely. Once the grout is dry, apply a sealer to protect the tiles from moisture and stains.
Finishing Touches And Clean Up
Now that the new tiles are in place and sealed, it's time to add the finishing touches. Remove the tile spacers and fill any gaps between the tiles with caulk.
Run a damp sponge on your tile floor after the grout and caulk have dried to clean any residue. Replace any baseboards or moldings that were removed during the process. Finally, do a thorough clean up of the area to remove any debris or dust.

Tips for Preventing Tile Damage
Preventing tile damage starts with proper maintenance and care. Here are some tips to help you keep your tiles looking their best:
Regular Cleaning
Regular cleaning is the most important thing you can do to prevent cracked tile damage. Sweep or vacuum your floors regularly to remove dirt and debris, and mop with a mild cleanser as needed. It's also a good idea to spot clean spills and stains as soon as they occur to prevent them from setting in.
Protective Coverings
You can also use protective coverings like rugs and mats to protect your tiles from wear and tear. Place these in high traffic areas, such as entryways or hallways, to keep dirt and debris from scratching the tile surface.
Sealing
Applying a sealer to your tiles is another great way to protect them from dirt and stains. Make sure to reseal your tiles every 12-18 months as needed.
Regular Inspections
Finally, it's important to inspect your tiles on a regular basis for any signs of damage or wear. If you notice any cracked, chipped, or loose tiles, replace them immediately before the damage spreads.
Summary
1. Gather the necessary supplies: You’ll need a hammer, chisel, replacement tile (or tiles), tile adhesive and grout.
2. Remove existing broken tile: Use a hammer and chisel to gently chip away the broken tile(s). Carefully remove all pieces of old tile, as well as any remaining adhesive or grout. Make sure the surface is clean and level before continuing onto the next step.
3. Apply tile adhesive: Using a trowel, spread an even layer of adhesive over the entire area where you plan on placing your new tiles. It's important that this layer be consistent and not too thick or thin so that your newly tiled floor lays flush.
4. Place your new tile: Carefully place your new tiles in the area of adhesive, making sure they align with the existing floor pattern. Make sure there is no air or gaps between each tile so that the grout can properly seal them all together.
5. Allow time for drying: Leave your newly placed tiles to dry completely before continuing onto step 6. Depending on your environment and temperature/humidity levels, this process may take a few hours.
6. Apply grout: After ensuring that all tiles are properly in position and have dried, apply a generous layer of grout between each one to fully secure them into place. Make sure not to leave any gaps or lines when applying so that your floor looks even and beautiful.
7. Complete the process: Once you’ve applied grout, leave the area to sit for at least 24 hours before walking on it or using any furniture. After allowing time for tapping down, remove excess grout from tiles with a damp cloth and enjoy your newly tiled floor!
Conclusion
Replacing broken tiles may seem like a daunting task, but with the right tools and materials, it's a simple and satisfying DIY project. By following these step-by-step instructions, you can say goodbye to cracked floors and hello to a fresh new look.
Remember to take the necessary safety precautions, measure and cut the new tiles carefully, and follow the manufacturer's instructions for adhesive, grout, and sealer. With a little patience and effort, you can transform your space and enjoy beautiful, crack-free floors for years to come.
By following these simple steps, you can easily replace broken floor tiles for an improved look in your home. Don't forget to double-check measurements prior to beginning this project so that all of your new tiles will properly fit into place. Good luck!
Author Bio:
Frances Lalu is a contributing writer at Onfloor. She covers all home-related topics including home improvement, gardening, and landscape.
